Quickstart
This guide will get you up and running at a very basic level. We'll cover how to create a preset, add images, fine-tune your crops, and export your images. We'll also look at where to go next to find all the information you need to take full advantage of the app.
Before you can start using Derivv Pro, you will need a set of images
to work with. The app supports the most common image formats, including
PNG, JPG, WebP, GIF, BMP, ICO, and some support for TIFF.
Output Preset
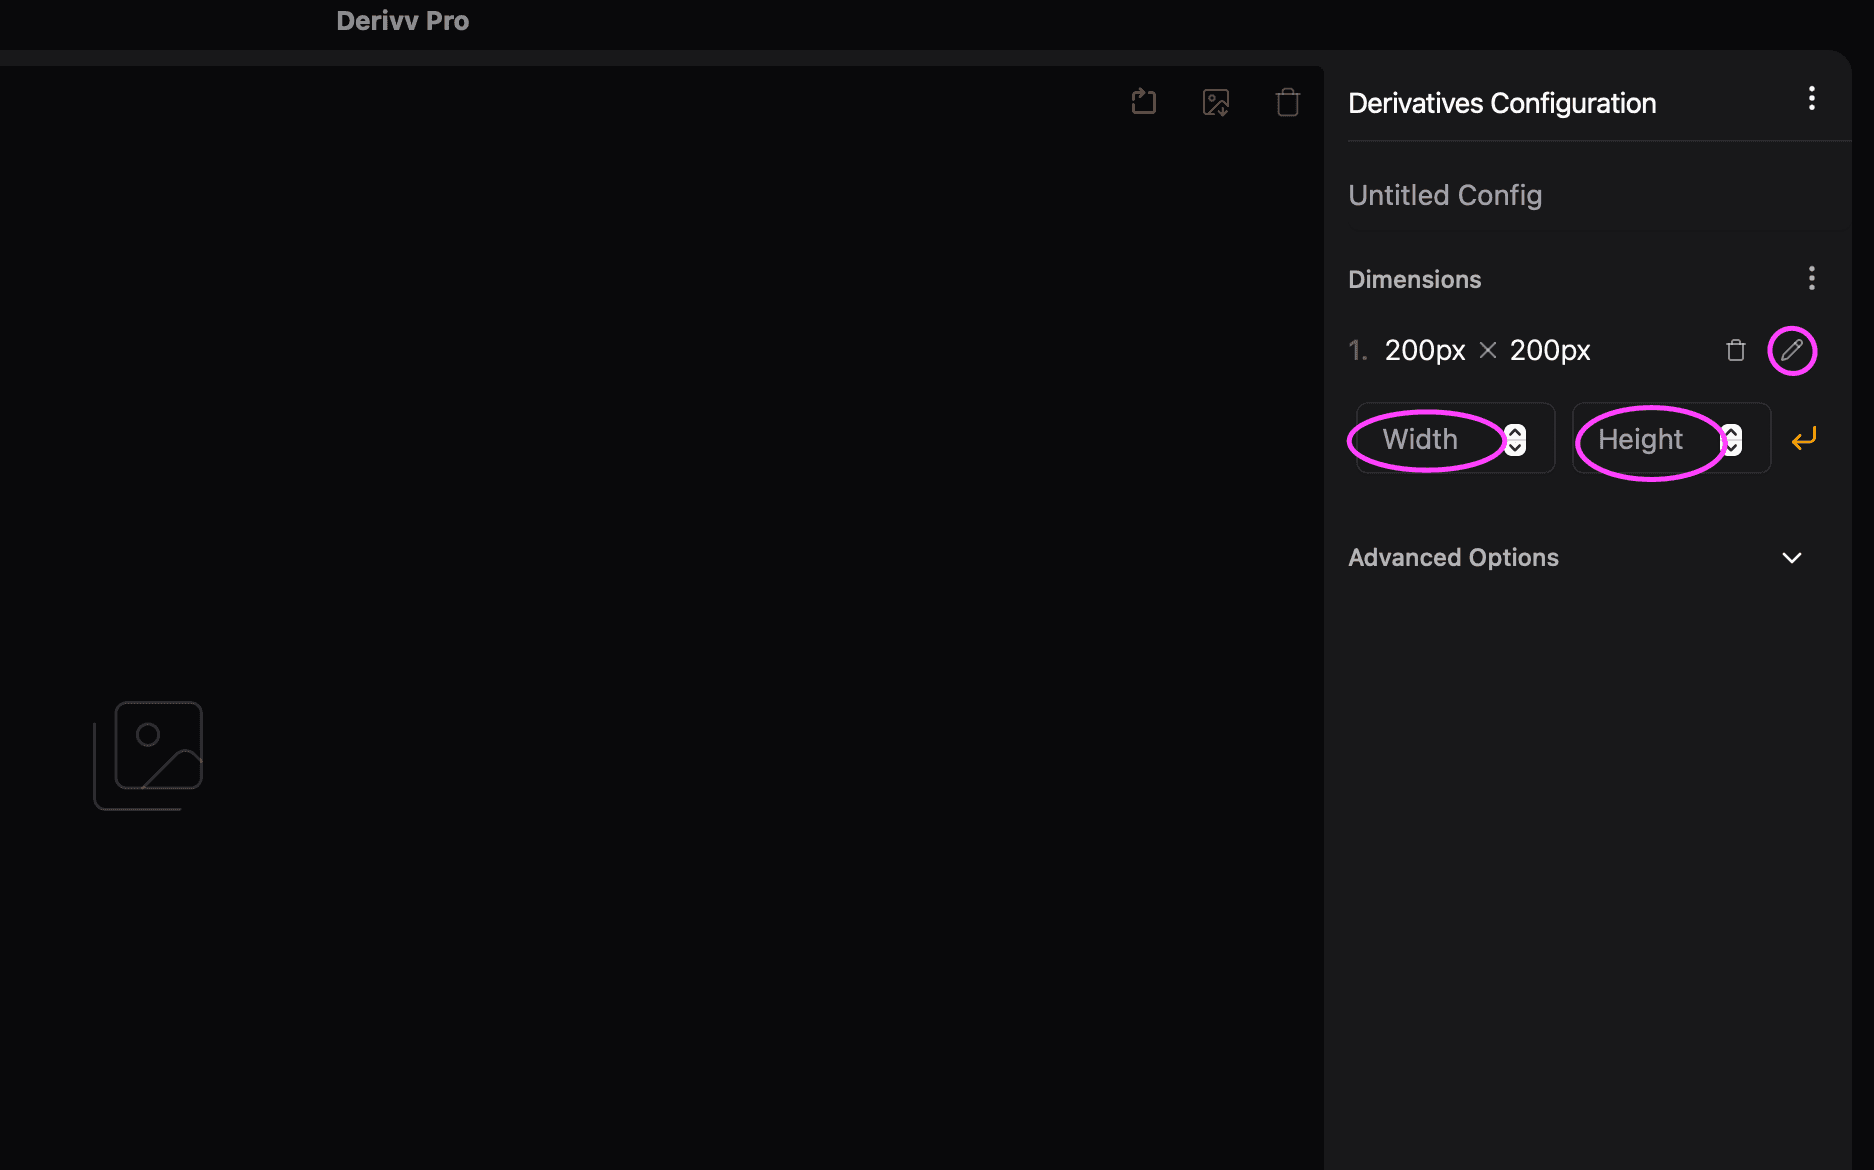
When you first open Derivv Pro, there is a default preset with 200x200 dimension settings. You can change the size by clicking on the pencil icon to the right of the dimensions, delete it with the trash icon, or add another one by entering the width and height in their respective fields. When you are done entering the dimensions, press return on the keyboard or click on the orange arrow pointing down and to the left.

Add Images
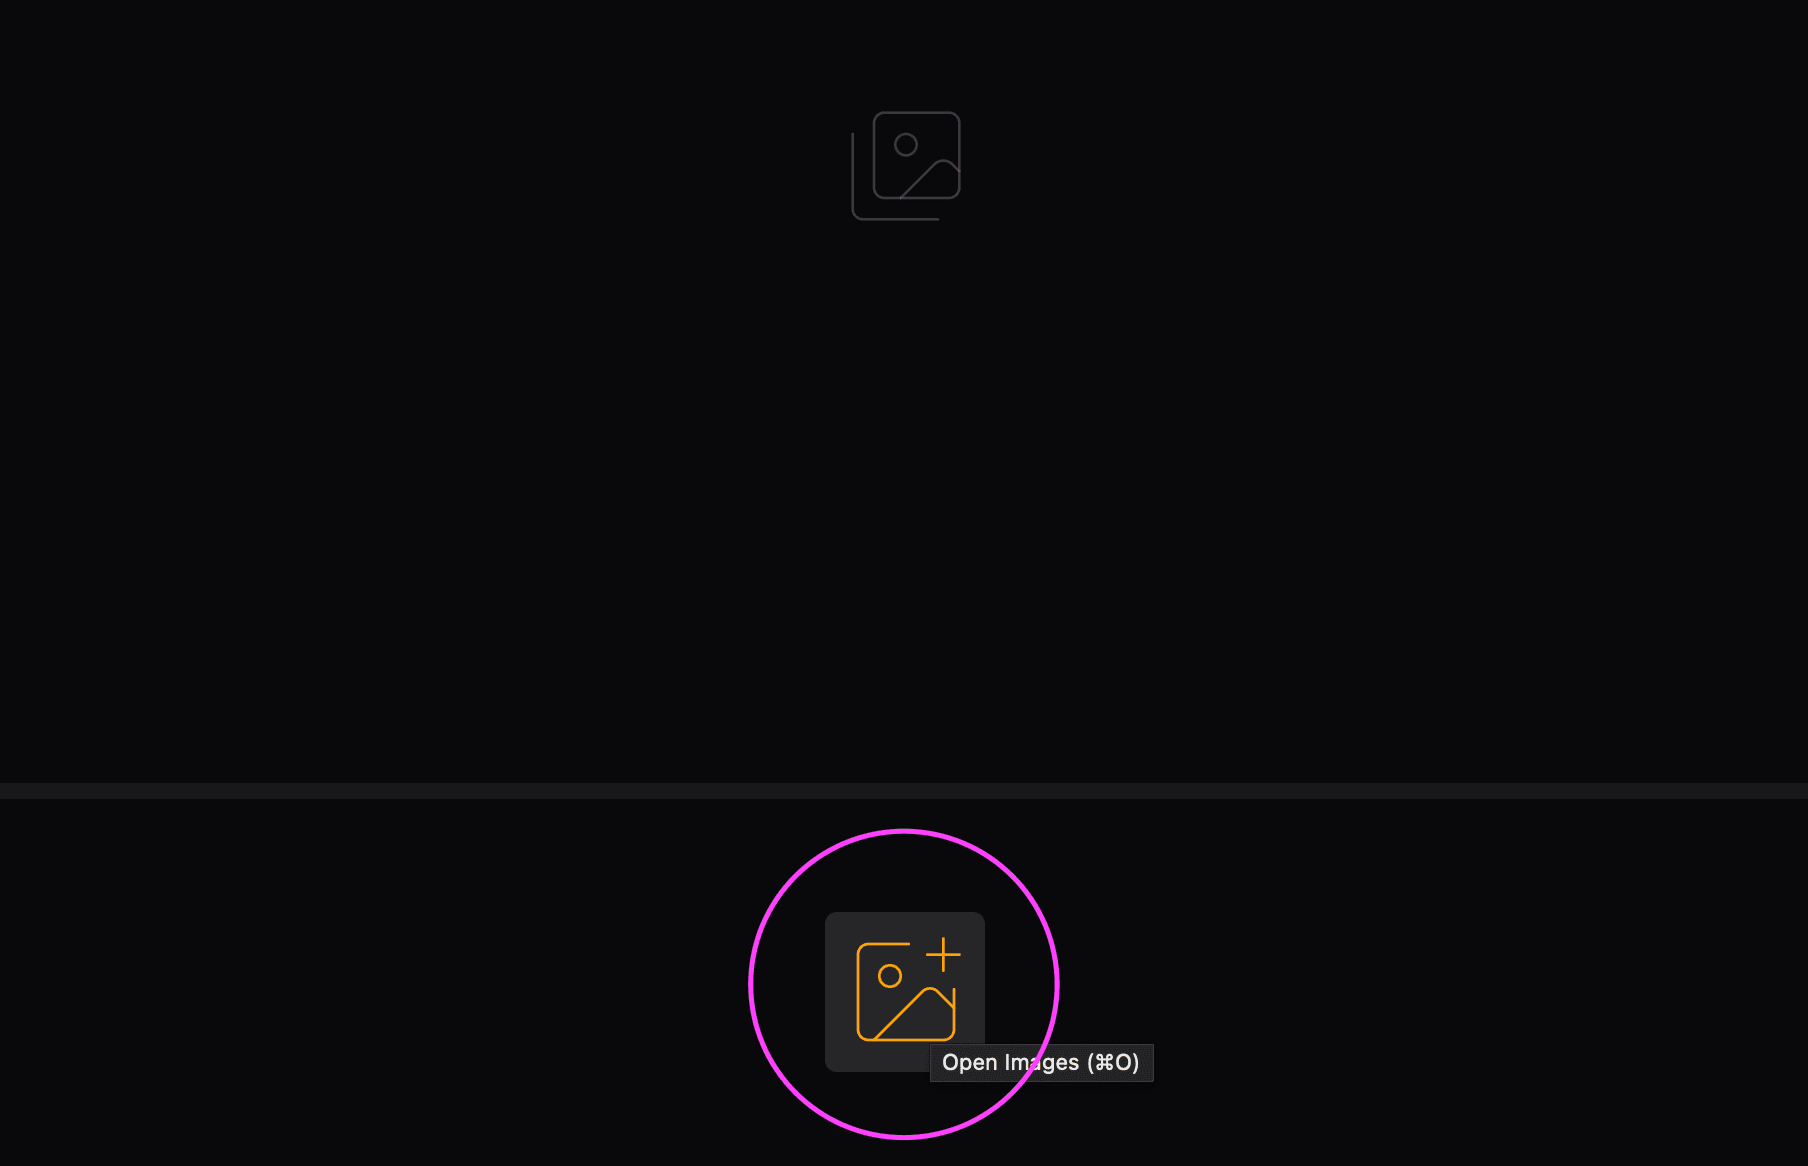
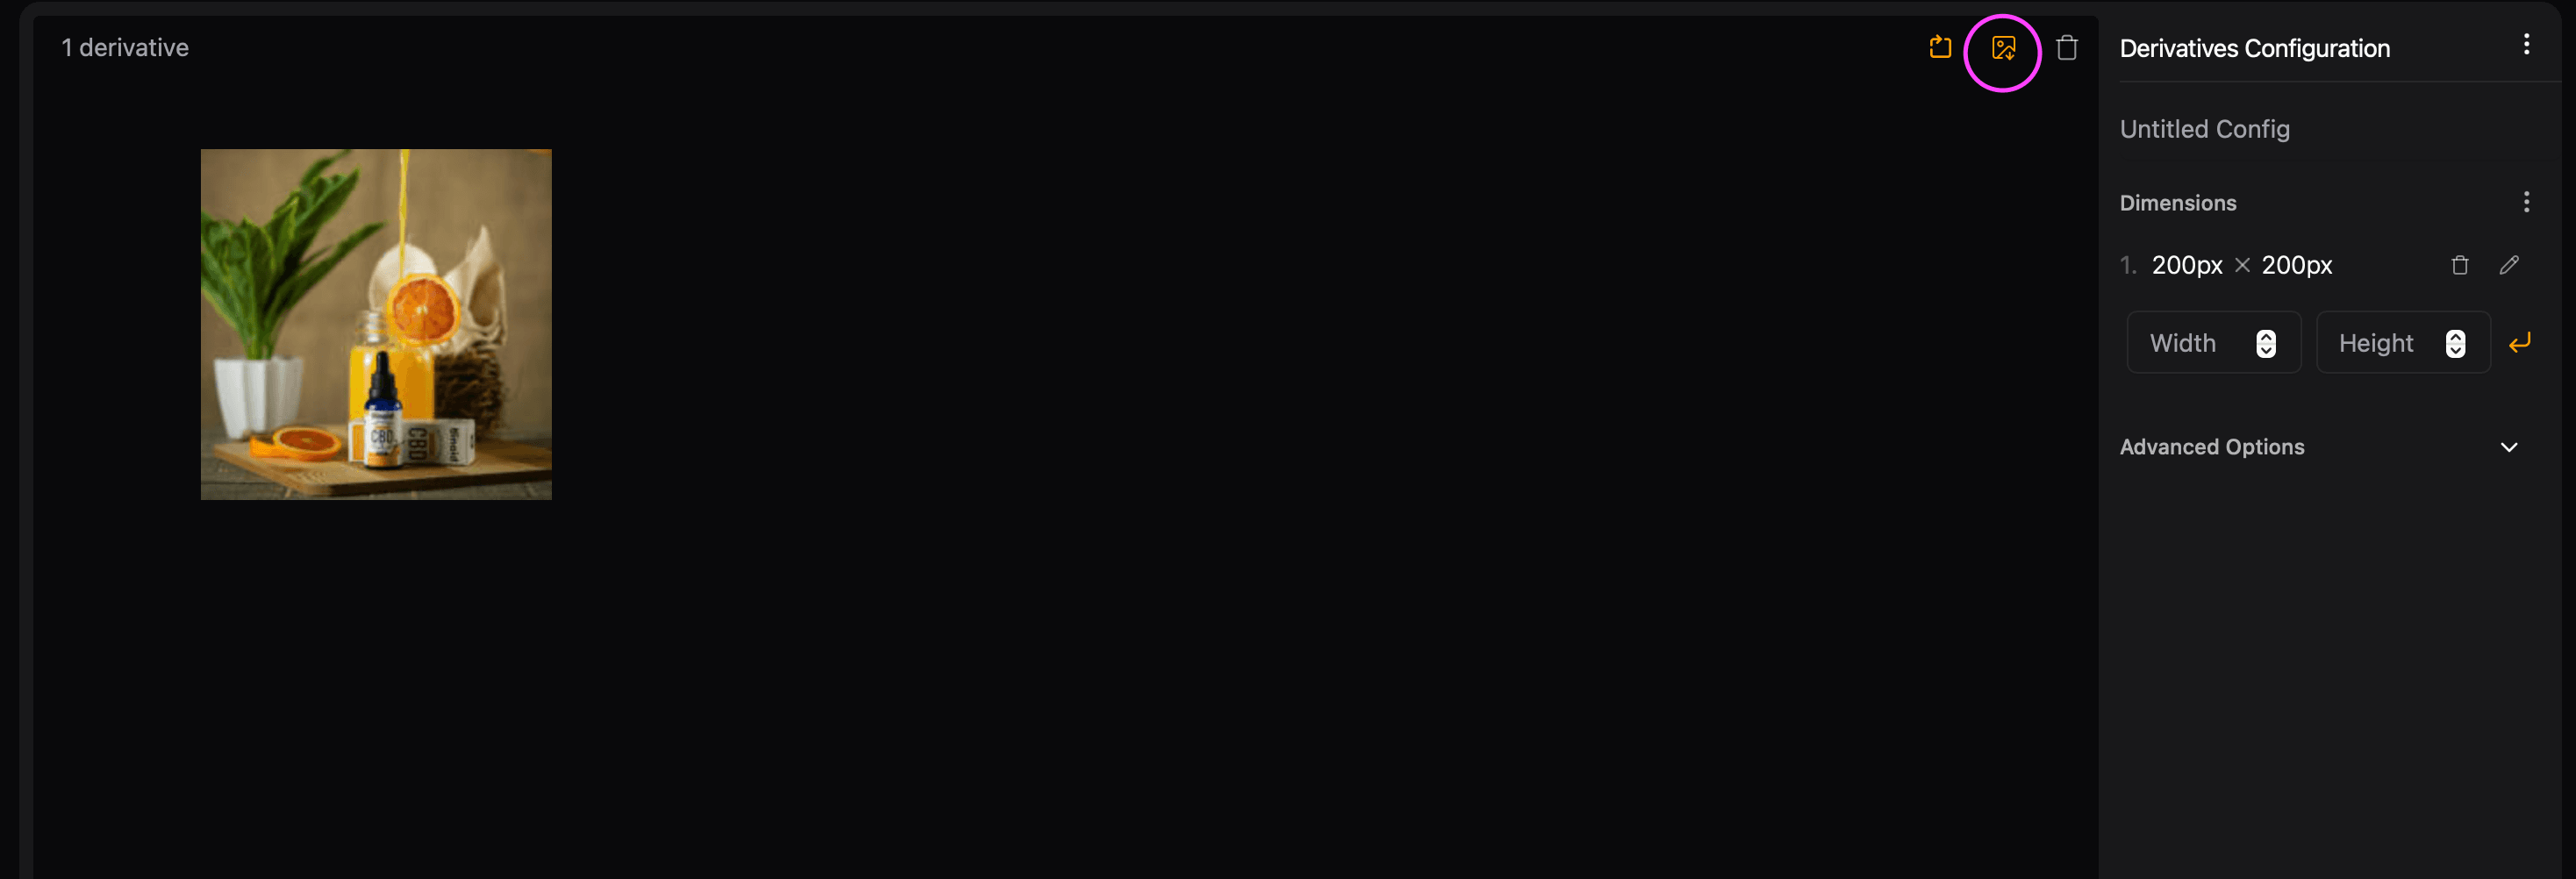
Once you've created a preset, you can add images either by dragging and dropping them onto the app, by clicking the image icon with a plus sign, or by using the shortcut ⌘ + o on Mac or ctrl + o on Windows. As soon as you add an image, the app will automatically create the derivative images you've configured for it.
There are many shortcuts available throughout the app. Try hovering over buttons and menu items to see their respective shortcuts.

Fine-tune crops
Fine-tuning your derivative crops is as simple as clicking on the expand icon of the derivative image or double clicking on the image to open the crop editor. You can then drag the image to the desired position. When you are done, click "Save" to save your changes.
Export images
After doing all that hard work, you can export your images by clicking the export icon in the top right corner of the app.

What's next?
Great, you're now set up with Derivv Pro. Here are a few links that might be handy as you venture further into the app: